Create your Sigsync account and then using our automatic configuration service, you can easily configure Office 365 tenant to forward mail to our server and attach signature to mail.
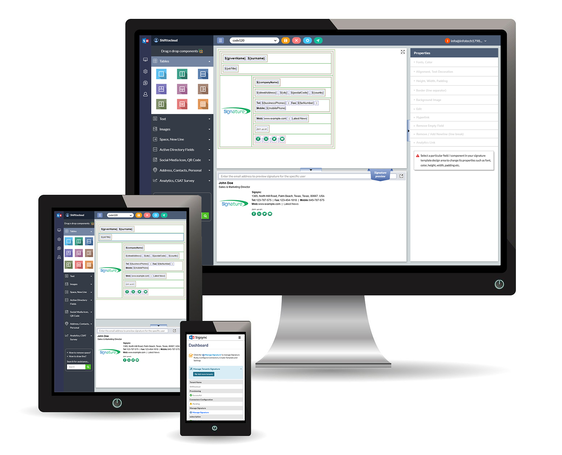
Click on 'Add User' in 'Dashboard' tab and select one of the different methods to import users. Choose the users who will need to have signatures and then go to 'Rules & Templates' tab. Here, Enter a Rule Name first. You can click on 'Signature style' button on right, to change font styles and color etc.
Under Rules list, you can select if you want incoming, outgoing or all mails needs to have signature added. You can also choose which senders should have the signatures attached. Also, mails can have signature based on the subject keyword or keyword in body.
You can also have multiple rules and set the 'Stop processing the next Rule' after Rule match or 'Go to next Rule' depending on whether you want to attach more than one signature to a mail that is matching the criteria set in the rules. For example, you can have a signature and disclaimer in a mail.

Streamline Email Signature Management with a Free On-demand Demo from Sigsync
Sigsync email signature service provides effortless, centralized signature management for Office 365 and Exchange. Our team can assist you in quickly setting up company-wide signatures. Request a free on-demand demo to see how Sigsync can simplify your email signature management process.

