How to set Signature Rules?
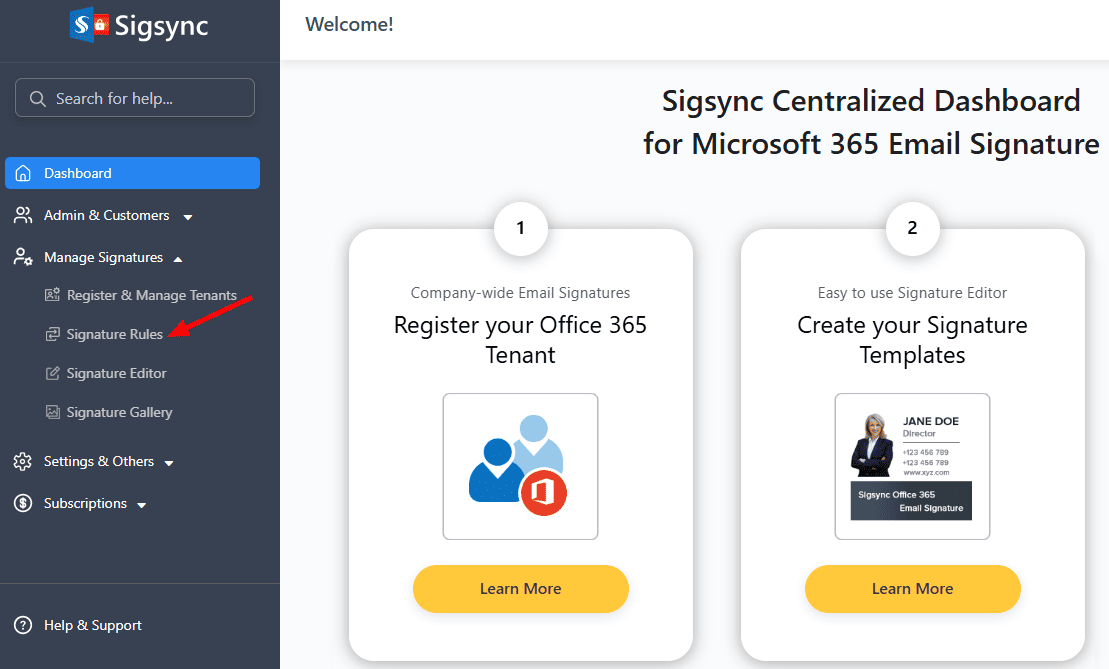
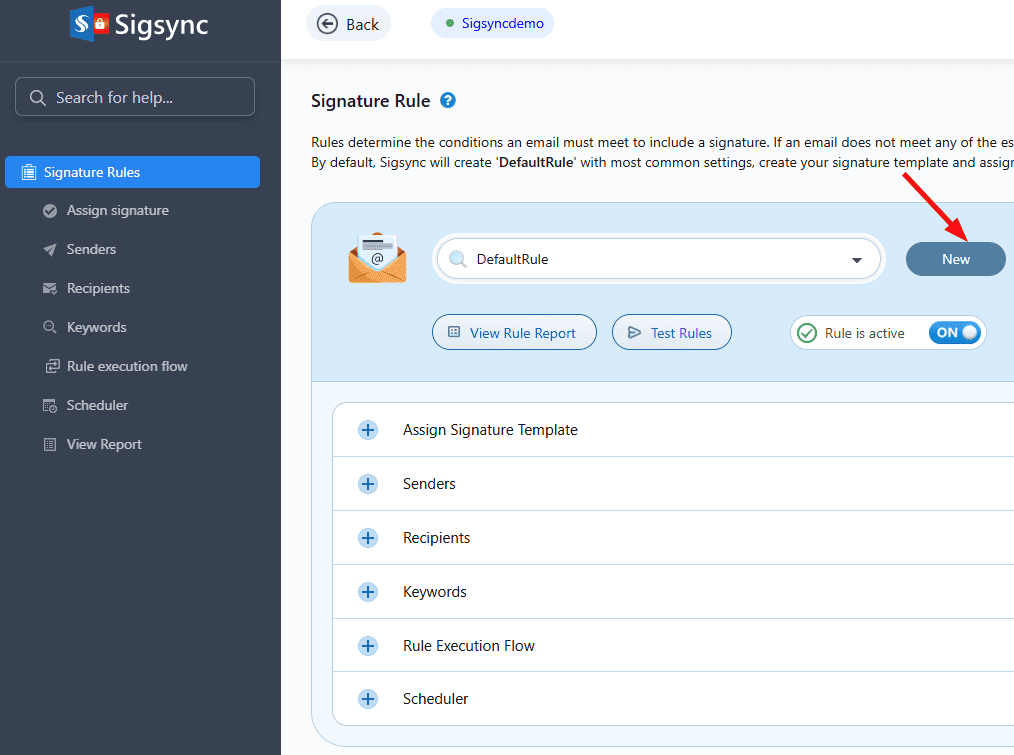
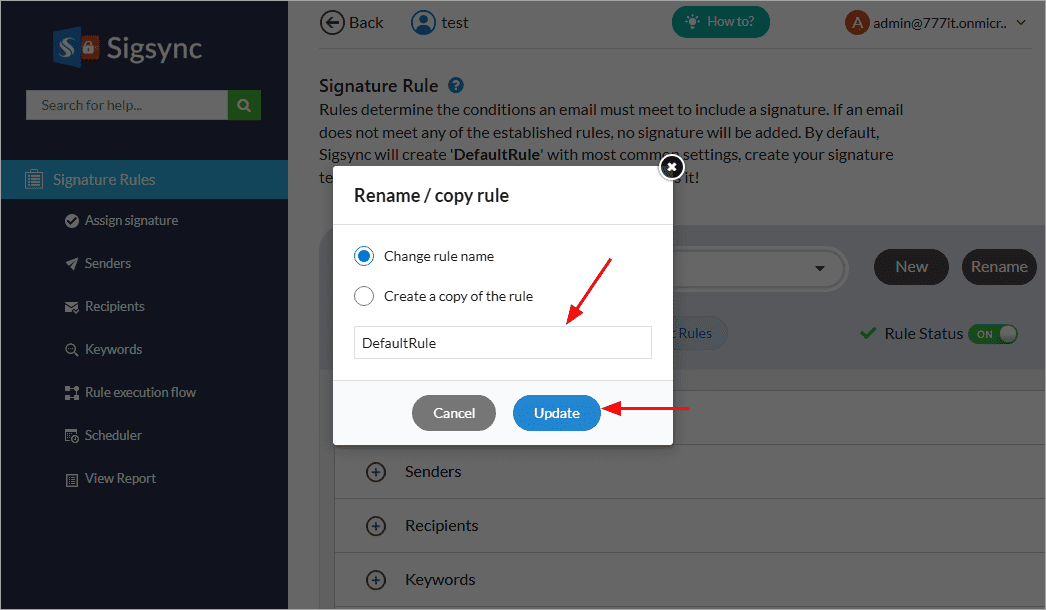
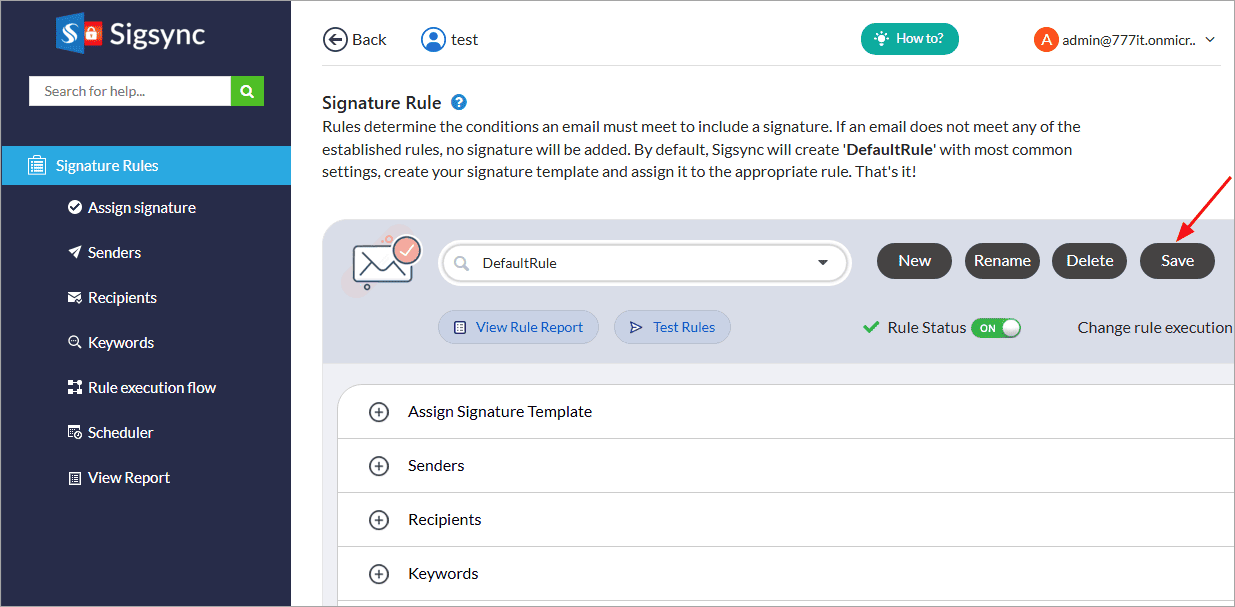
Click on ' Signature Rules' tab. By default, there will be a rule called ‘DefaultRule’ which has all values set to default which makes it easy to start using Sigsync service right away. You can however make changes to this rule as necessary or you can click on add ‘+’ icon to add a new rule and make changes as required.
Rule Operation
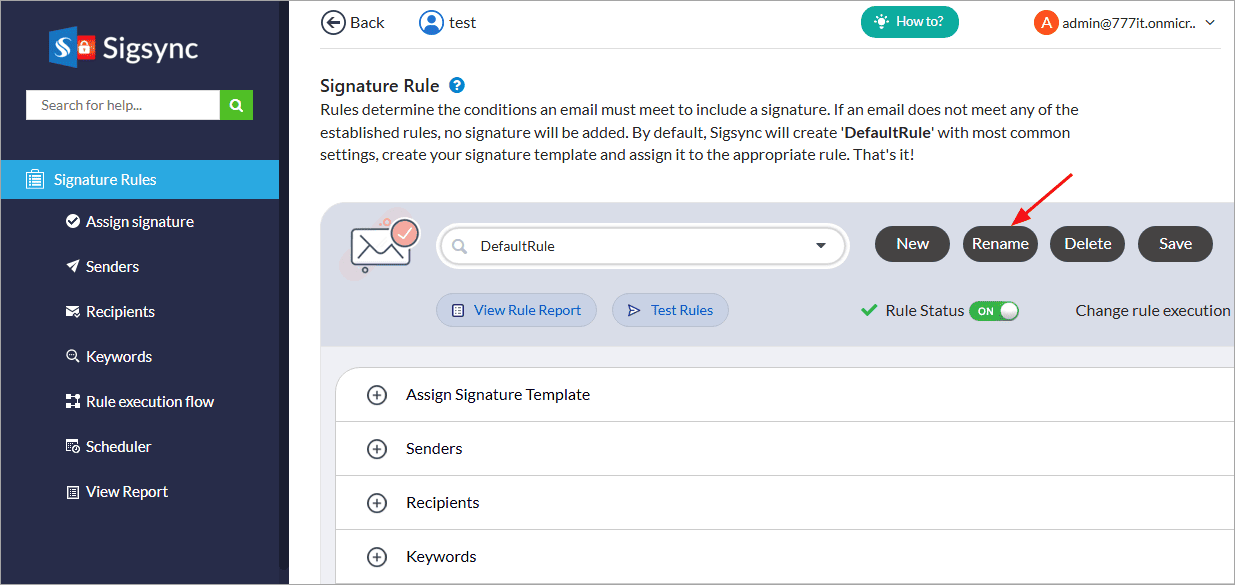
Create, delete, set priority and set status for the rules.
Add New Rule
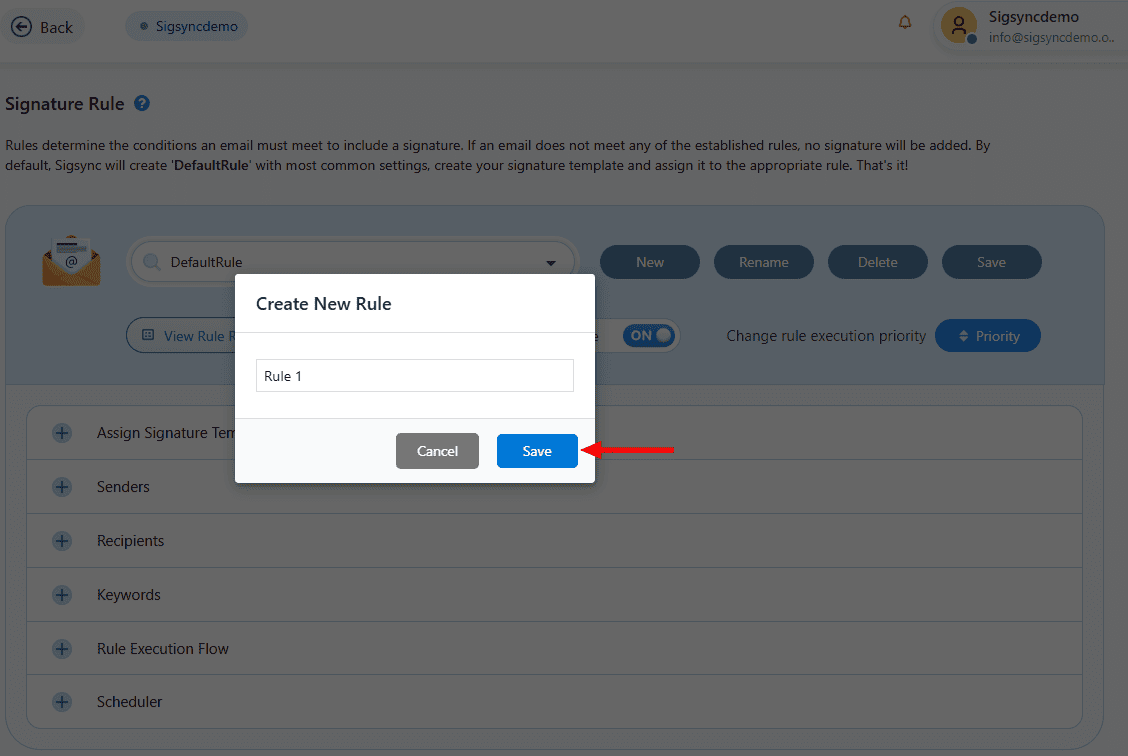
In the 'Signatures Rules' tab, click '+' to add new rule and provide the name.
Set Rule Priority
( ) Change Priority to the created rules by using up (▲) and down (▼) buttons.
Set Rule Status
By default, status will be set to active. If you want to temporarily disable a particular rule, you can use toggle button,
- Indicates status is active.
- Indicates status is inactive.
Delete a Rule
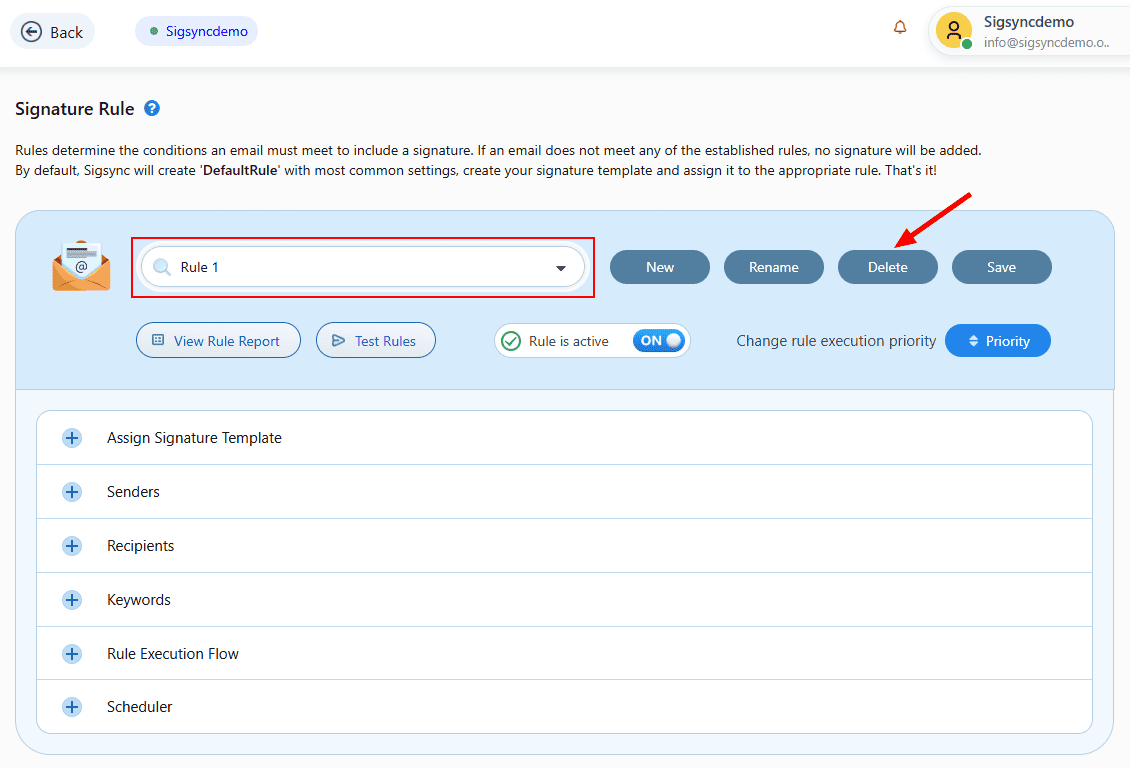
Select the required rule to delete then click the ( ) 'Delete' button.
Rule Explanation
Senders & Receivers
In 'Senders & Receivers' tab, you can specify which senders’ emails should have signatures or which should not have signature. If you select multiple options such as 'Selected Senders' and 'Senders from Group', then signature will be applied if sender is in either of the option selected.
Add Signature - based on Senders
All Senders:Adds the signature to all the senders.
Selected Senders:Adds the signature to the selected senders to whom you wish to add. Click the 'Edit' button to select the senders and then click the 'Save' button to apply the changes.
Senders from Group:Adds the signature to senders who are members of selected Office 365 group.
Azure AD Filters:Adds the signature to the sender according to the particular Active Directory (AD) field value specified. Click the 'Edit' button to add the field values. Any sender who has matching AD field value mentioned will have signature added to email.
- Select the 'User AD field', 'Operator', provide the 'Value' and click the 'Add to list' button.
- 'User AD field' has all the default AD field such as Department, Office Location. Job Title etc., 'Operator' has Contains and Equals option.
- Contains operator is used when it should match even if value matches only part of AD field value.
- Equals operator is used when it should match exactly to AD field value.
Signature will be added based on two options i.e.,
- 'At least one of the conditions above is met' – Any one of the conditions should match to add.
- 'All of the conditions above are met' – All of the conditions must match to add.
Do not add signature – based on Senders:
Sigsync provides option to exclude the signature based on senders. This applies if the sender matches to any of these below options selected: 'Selected Senders', 'Senders from Group', 'Azure AD Filters'.
Selected Senders:Excludes the signature to the selected senders to whom you wish to exclude. Click the 'Edit' button to select the senders and then click the 'Save' button to apply the changes.
Senders from Group:Excludes the signature to the senders who are members of selected Office 365 groups.
Azure AD Filters:Excludes the signature to the sender according to the particular active directory (AD) field value specified. Click the 'Edit' button to add the filters.
- Select the 'User AD field', 'Operator', provide the 'Value' and click the 'Add to list' button.
- 'User AD field' has all the default AD field such as Department, Office Location. Job Title etc., 'Operator' has Contains and Equals option.
- Contains operator is used when it should match even if value matches only part of AD field value.
- Equals operator is used when it should match exactly to AD field value.
Signature can be excluded based on two options i.e.,
- 'At least one of the conditions above is met' – Any one of the conditions should match to exclude.
- 'All the conditions above are met' – All of the conditions must match to exclude.
Add Signatures to - Recipients
Sigsync provides option to add signature based on the email recipients within / outside organization.
- 'Within the Organization (Internal) and Outside the Organization (External)' – Allows to add signatures to internal emails and external emails.
- 'Within the Organization (Internal) Only' – Allows to add signature only for internal emails. That's, inserts signature if Sender and Recipient domains are same.
- 'Outside the Organization (External) Only' – Allows to add signature only for external emails. That's, insert signature only if Sender and Recipient domains are different.
Keywords
Adds the signature to the email only when all the added keyword condition satisfies.
Add Signature – based on keywords:
Sigsync provides option to add signature based on the 'Keyword/phrase' contained in the email subject or body or both.
In 'Keywords' tab, Click the '+ Add Keywords' button to add 'Keyword/phrase'.
Enter the 'Keyword/phrase' and select the 'Search in:' option.
If you check the 'Remove this phrase from email subject and body' option, it removes the entered 'Keyword/phrase' if matched. Otherwise, it will keep it as it is if matched. Click 'OK' to continue.
Do not add signature - based on keywords:
Sigsync provides option to exclude signature based on the 'Keyword/phrase' contained in the email, subject, body or only if it exists in both email subject and body.
In 'Keywords' tab, Click the '+ Add Keywords' button to add 'Keyword/phrase'.
Enter the 'Keyword/phrase' and select the 'Search in:' option.
If you check the 'Remove this phrase from email subject and body' option, it removes the entered 'Keyword/phrase' if matched. Otherwise, it will keep it as it is if matched. Click 'OK' to continue.
Rule Execution Flow
If user has created more than one rule, an email may satisfy more than one rule condition. To address this scenario, you can set priority for the rules to be considered in ( ) Set Priority button.
Change priority of rules by using up (?) and down (?) buttons.
If this rule is applied:
Go to the next rule - If this rule is appliedThis option allows you to execute the next rule, if this rule is applied.
Stop processing the next rule – If this rule is appliedThis option allows you to stop next rule checking, if this rule is applied.
If this rule is not applied:
Go to the next rule – If this rule is not appliedThis option allows you to execute the next rule, if this rule is not applied.
Stop Processing the next rule – If this rule is not appliedThis option allows you to stop next rule checking, if this rule is not applied.
Assign, Create, Edit Template
Sigsync provides the option to assign, create or edit the template for the selected rule.
Select the rule to which you want to assign a template.
You can also create or edit signature using Signature generator.
That’s it! Now that rules are set, it’s time to add SPF record.
Want Free personalized service?
Sigsync email signature service offers company-wide and centralized email signature for Office 365 and Exchange.
We can assist you in getting your signature ready effortlessly.